This post will go through how to deploy a single-page application using docker. The process described in this post will work for most single-page applications or JAMStack applications. We will see how to dockerize an angular application. we are going to do it in two steps,
- Creating optimized build and
- Serving it with a webserver like Nginx or Apache.
We can do both operations in a single docker image, but the disadvantage here will be docker image size since it is packed with code and node_modules, which is not required for the application to run. To run the application, all we need is a simple webserver.
To overcome this, we are going to opt for the multistage build.
What is multistage build? We will copy the artifacts from one stage to another in a multistage build. By this, we will avoid unnecessary data and reduce docker image size. We will have multiple FROM statements; each FROM statement represents a stage.
We will keep two stages for our application: building the artifact and serving through the webserver.
-
Stage 1: Building the artifact
#stage1
FROM node:14.17.0-alpine as build-step
RUN mkdir -p /app
RUN npm cache clear --force
WORKDIR /app
COPY package.json /app
RUN npm install
COPY . /app
RUN npm run build- We take the base from the node and set the alias as
build-step. - Then create the folders
- Clear the npm cache to ensure we clear all the packages and install the application.
- Copy the
package.jsonfile and run npm install to install packages - Copy the code to the working directory.
- Run the build command to create the artifact.
npm run build
- We take the base from the node and set the alias as
-
Stage 2: Copying the artifact and running
#stage2
FROM nginx
COPY /app/public /usr/share/nginx/html- we started stage 2 by taking Nginx as the base image.
- next step, we copy the artifact from stage1 (
build-step) to the/usr/share/nginx/html - In the last step, we are starting the Nginx.
the complete Dockerfile will be like
#stage1
FROM node:alpine as build-step
RUN mkdir -p /app
RUN npm cache clear --force
WORKDIR /app
COPY package.json /app
RUN npm install
COPY . /app
RUN npm run build
#stage2
FROM nginx
COPY /app/public /usr/share/nginx/html
EXPOSE 80
STOPSIGNAL SIGTERM
CMD ["nginx", "-g", "daemon off;"]After building the image successfully, we can run the history command, (docker history <<image name/id>>) to check how the image is created. We will not see any reference to the node image we used earlier.
docker history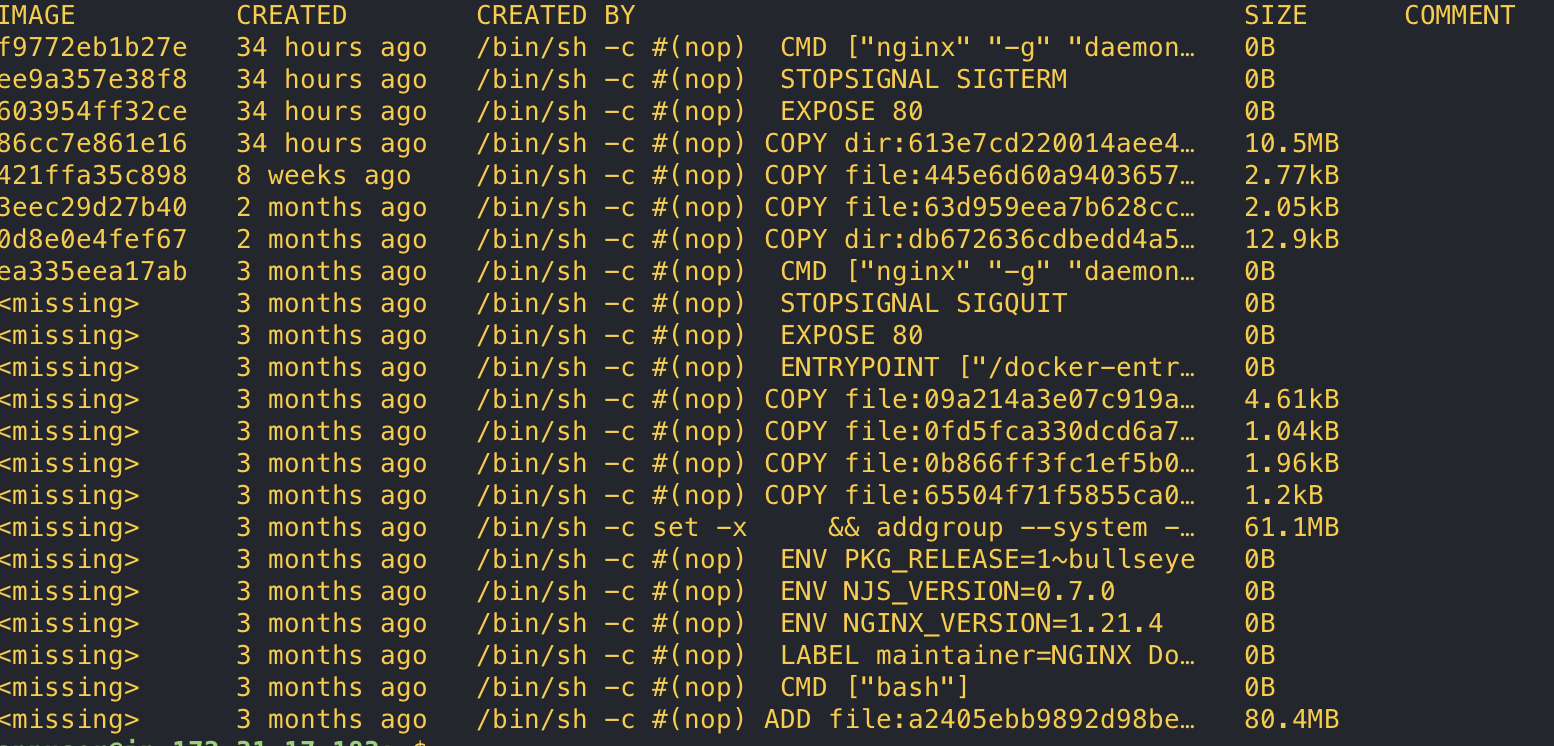
In the above screenshot, we could see no trace of the previous stage. The multistage builds will be very handy wherever we want to reduce the image and keep only the necessary files for the application to run.